Science Skills Unit Part 1: Lab Safety, Magnification, Microscope Use
$9.99
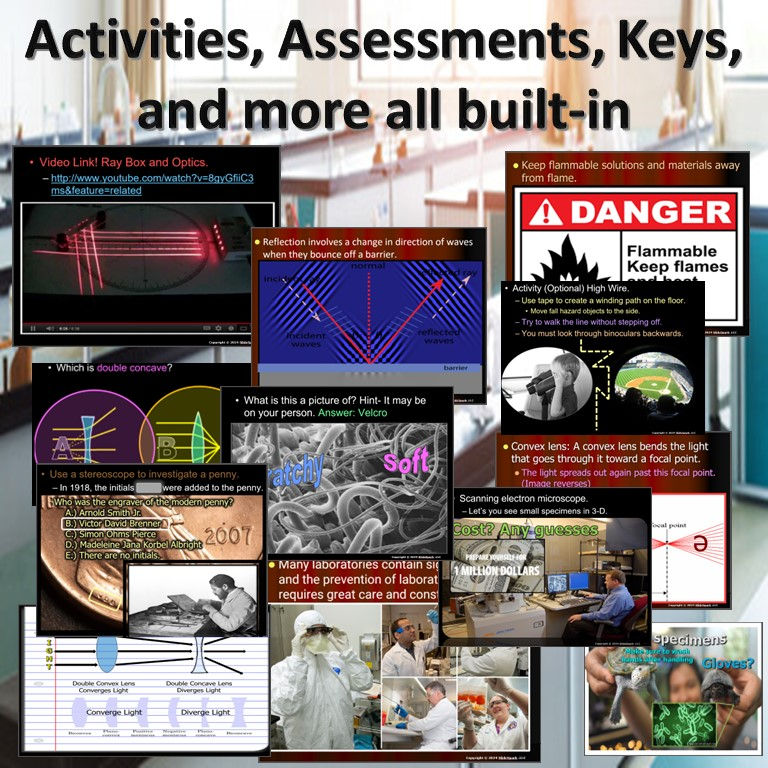
This engaging 7-lesson unit (50 minutes each) includes a 15-page printable work bundle and interactive slideshows designed to enhance science learning through hands-on activities, critical thinking, and assessments. The work bundle aligns chronologically with the slideshows, ensuring a cohesive learning experience. Fully editable and Google Classroom-compatible, this unit is a must-have for teaching foundational science skills early in the year.
Key Topics and Activities
1. Lab Safety Students explore critical safety protocols with step-by-step instructions and visuals to reinforce key concepts, including:
Handling chemicals and pathogens safely.
Using fire extinguishers and eyewash stations.
Avoiding hazards like glassware accidents, spills, and electrical risks.
A group activity simulates cleaning up a spill, emphasizing teamwork and precision.
A fun and informative lab safety video concludes the lesson, followed by a challenging yet accessible 10-question quiz with self-assessment opportunities.
2. Magnification This lesson introduces the principles of magnification with real-world applications and fun activities:
Hands-On Activities: Students use hand lenses to explore details on dollar bills, search for hidden elements, and create detailed sketches.
Microscope Exploration: Students learn about stereoscopes, compound microscopes, and electron microscopes. Challenge questions test their understanding of which magnification tool is appropriate for specific specimens.
Deductive Reasoning Quiz: Students identify microscope parts using reasoning skills and a word bank, boosting their confidence and critical thinking.
Wet Mount Activity: Students prepare slides with objects like the letter "e," hair, and plant specimens to observe and sketch under different magnifications (10x, 40x, and 100x).
Interactive Features of the PowerPoint Slideshows
Red Slides for Notes: Focuses student attention on critical points.
Color-Coded Slides: Enhances visual engagement and pacing for teachers.
Built-In Review Opportunities: Frequent questions and challenges ensure understanding.
Step-by-Step Directions: Clear guidance for every activity.
Boost Science Engagement with This Dynamic Unit
This Lab Safety & Magnification Unit combines engaging visuals, hands-on activities, and interactive assessments to captivate students and build foundational science skills. With its focus on active learning and critical thinking, this unit is ideal for middle and high school classrooms. Fully editable and compatible with Google Classroom, it offers flexibility for educators while promoting inquiry-based STEM learning.
Transform your science classroom with this comprehensive resource and provide your students with the tools to excel in science education!
Quantity


